
Managing digital security in a modern household or workspace has become a tedious game of whack-a-mole. Every single time you add a new gadget to your home network, whether it is an Android smartphone, an iPhone, a smart television, or a gaming console, you are forced to download, configure, and maintain a separate Virtual Private Network application. This method is inefficient and leaves significant vulnerability gaps. Smart televisions, streaming sticks, and older gaming consoles frequently lack native application support for encryption tools entirely. This leaves your entire entertainment architecture exposed to internet service provider throttling, data harvesting, and geo-blocking practices that limit your access to global content libraries.
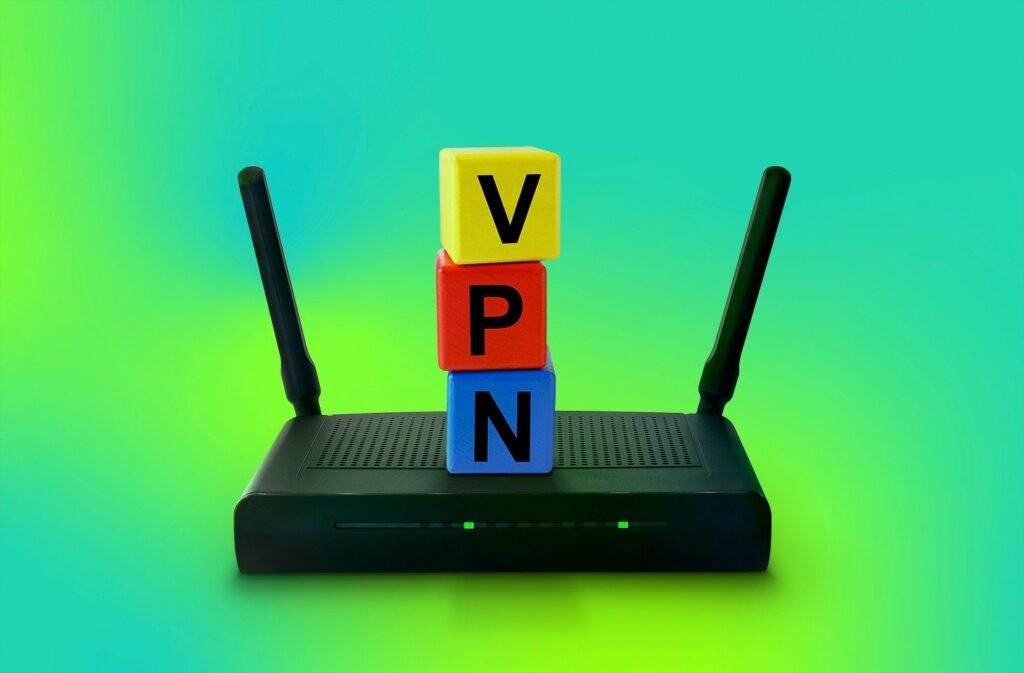
The most effective, structural solution to this problem is migrating your defenses directly to the edge of your network by deploying a virtual private network right on your internet router. By installing your encryption tool at the hardware source, you create a permanent, blanket security perimeter for your local network. Every single piece of hardware that associates with your Wi-Fi signal automatically inherits enterprise-grade encryption. This technical solution bypasses the strict device installation ceilings imposed by premium subscription services because the entire router architecture counts as just one connected client. The following comprehensive deployment guide breaks down the operational differences of this approach, outlines how to verify your hardware compatibility, and provides detailed engineering walkthroughs for flashing custom firmware or leveraging native router configurations.
Why Router VPN Beats Per-Device Installation
Deploying security on a per-device basis relies heavily on user compliance and software stability, which represents a fragile foundation for data privacy. If a single family member or coworker forgets to toggle their application on, your local IP address and unencrypted data traffic are instantly leaked to your internet service provider. Furthermore, background application crashes can quietly expose your browsing habits without warning.
When you transition the encryption workload to your central gateway router, you change the nature of your network privacy from a manual choice to an infrastructural absolute. The server-side handshake occurs directly between your home gateway and the remote server endpoint. Consequently, non-traditional smart home appliances, wireless printers, and streaming boxes that cannot run custom applications receive identical security protocols as your main workstation.
Get TikTok SEO Cheat here
Network Architecture Comparison
| Feature Criteria | Per-Device Application Installation | Central Router Implementation |
|---|---|---|
| Installation Overhead | High (Requires individual app maintenance per device) | Low (Single centralized setup at the gateway) |
| Device Compatibility | Limited (Only supports modern OS like Windows, iOS, Android) | Universal (Secures any device connecting via Wi-Fi or LAN) |
| Simultaneous Connections | Strictly capped by subscription rules (usually 5 to 10) | Unlimited (Consumes exactly one subscription slot) |
| Smart TV & Console Support | Requires complex DNS proxy workarounds | Native network-level protection out of the box |
| Encryption Coverage | Prone to manual user bypass or app crashes | Continuous network-level encryption |
Check If Your Router Supports VPN Connections
Before attempting any system configuration, you must establish whether your current hardware possesses the processing power and software framework required to handle real-time data encryption. Standard internet service provider modems given during installation are intentionally locked down and rarely possess these professional capabilities.
To check your hardware, open a web browser on a device connected to your network and input your router local IP address into the URL bar, which is usually 192.168.1.1 or 192.168.0.1. Enter your administrator credentials to open the management portal. Navigate to the Advanced Settings tab and look for menus labeled VPN Client or VPN Provisioning. If you only see an option labeled VPN Passthrough, this means your router cannot run an encryption service independently; it can only allow traffic from individual device applications to pass through its firewall. If your interface lacks native client features, you will need to verify if your device processor is compatible with third-party open-source firmware replacements.
Best VPNs for Router Deployments
Running an encryption protocol at the network layer demands significant performance from your provider servers. Because your router aggregates the data traffic of your entire home, you need a provider that delivers high speeds and robust server configuration files.
- NordVPN: Renowned for its dedicated OpenVPN and custom router profiles, offering stable server connections that resist network disconnects.
- ExpressVPN: Provides a custom, dedicated firmware application for specific hardware models, replacing the complex manual setup with an intuitive custom portal.
- Surfshark: The ideal budget-friendly alternative that pairs perfectly with home networks processing massive multi-device streaming loads.

Step-by-Step Walkthrough: DD-WRT Firmware Flashing
For enthusiasts using older hardware or enthusiast gear lacking native client tools, flashing your device with open-source DD-WRT firmware unlocks full network customization.
- Step 1: Download the specific DD-WRT firmware binary file matched to your exact router hardware revision from the official database.
- Step 2: Disconnect your router from the internet coaxial or fiber line, connect your PC directly to a LAN port using an Ethernet cable, and navigate to the Firmware Upgrade sub-menu within your stock admin panel.
- Step 3: Upload the downloaded binary file and initiate the update process, ensuring the device does not lose power for any reason during this cycle.
- Step 4: Once the system reboots, enter the new administration panel at 192.168.1.1, navigate to the Services tab, open the VPN sub-tab, and enable the OpenVPN Client option.
- Step 5: Paste the server address, port details, and custom security certificates extracted from your provider configuration files directly into the corresponding fields, then save and apply settings.
Step-by-Step Walkthrough: ASUS Router Native VPN Configuration
ASUS routers feature a robust stock operating system called ASUSWRT that includes an integrated, high-performance client interface right out of the box.
- Step 1: Log into your ASUS control panel, locate the Advanced Settings block on the left side of your screen, and click on the VPN menu.
- Step 2: Select the VPN Client or VPN Director tab located at the top of the interface and click the Add Profile option.
- Step 3: Choose the OpenVPN protocol tab from the setup window, enter a descriptive profile name, and type your premium subscription username and password into the designated fields.
- Step 4: Click the Choose File button, select the custom configuration file you downloaded from your provider dashboard, and click Upload.
- Step 5: Save the profile configuration and click the Activate button to establish the permanent encrypted link to the remote server.
Step-by-Step Walkthrough: TP-Link Router Configuration
Modern TP-Link Archer platforms utilize a clean interface designed to simplify the integration of third-party encryption keys.
- Step 1: Access your TP-Link management portal, switch the view from Basic mode to Advanced mode using the toggle at the top of the webpage, and open the VPN Client directory.
- Step 2: Click the Enable toggle switch to activate the master client controller module on your local network.
- Step 3: Head to the Server List section, click the Add button, and choose OpenVPN as your primary connection type.
- Step 4: Import the server configuration file provided by your service provider and input your account account authorization tokens.
- Step 5: Check the Device List menu below the configuration zone and map your specific home devices to the newly created secure profile, ensuring everything routes correctly.
Testing and Verifying Your Network Protection
Once your setup indicates an active connection status, you must run a network leak test to ensure that your data traffic is passing through the encrypted tunnel.
Gather multiple devices, including an iPhone, an Android phone, and a laptop, and connect them all to the updated Wi-Fi network. Open an internet browser on each device and navigate to a public lookup utility like dnsleaktest.com or whatismyip.com. The webpage should display the virtual IP address and geographic location of the selected secure server instead of your true residential location. Run the extended DNS leak assessment to verify that no requests are leaking outside the tunnel back to your local internet provider infrastructure.
Managing the Speed Impact on Home Networks
It is critical to understand that shifting your data encryption to a router introduces a heavy computing tax on your hardware processor. Standard web traffic passes through your router without modification, but a virtual private network forces the router internal CPU to encrypt every single outbound packet of data.
Because low-cost routers utilize simple processors optimized for simple data routing rather than cryptographic mathematics, your network connection speed can drop significantly. If your base internet connection speed is fast but your router CPU is weak, your overall speed might drop down by a substantial margin. To minimize this latency penalty, always configure your client profiles to utilize modern, lightweight protocols like WireGuard if your hardware firmware supports it, or use lower-level encryption keys if your provider gives you the option.
Troubleshooting Common Router Errors
If your devices lose internet access immediately after applying your new settings, the issue is usually caused by an internal software conflict.
Double-check the system clock settings within your router administrator dashboard. If the router internal system time does not match the actual current time, the remote server security certificates will fail validation and block your connection. If your time settings are correct but you still cannot browse the web, navigate to your LAN settings and manually adjust your primary DNS fields to point to secure public alternatives like 1.1.1.1 or 8.8.8.8, bypassing the default local provider servers completely.
Frequently Asked Questions
Can I still play online multiplayer games with a router setup?
Yes, but you will experience an increase in ping times because your data must travel through an extra server bounce. For competitive shooters, use split-tunneling options to bypass encryption for your console.
Will my local devices be able to communicate with each other?
Yes, local area network communication between your wireless printer, file server, and laptops remains unaffected because internal traffic does not need to pass through the external server.
What happens if the server drops its connection unexpectedly?
Most modern custom firmwares include a network kill switch feature. If the connection drops, the router will automatically block all outbound internet traffic to prevent your real IP address from being exposed.
Read More On: