
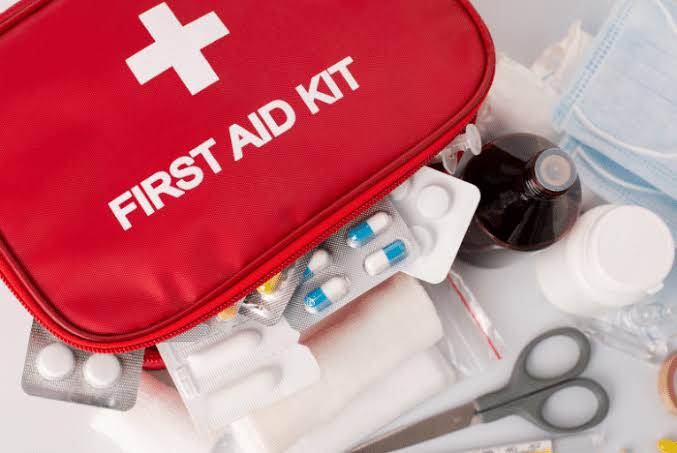
In an unpredictable world, the difference between a minor accident and a life changing tragedy often comes down to what happens in the first few minutes. Emergencies do not send warnings. They appear suddenly in homes, offices, roads, markets, and public spaces. In those critical moments, the presence of a calm and prepared individual can mean everything.
First aid is not reserved for doctors or nurses. It is a practical life skill that places the power of immediate response into your hands. It allows you to stabilize, protect, and support a victim until professional care arrives. This guide is designed as a deeply detailed, step by step resource that equips you with the essential skills needed to act confidently and correctly.
The focus here is not just what to do, but how and why each action matters.
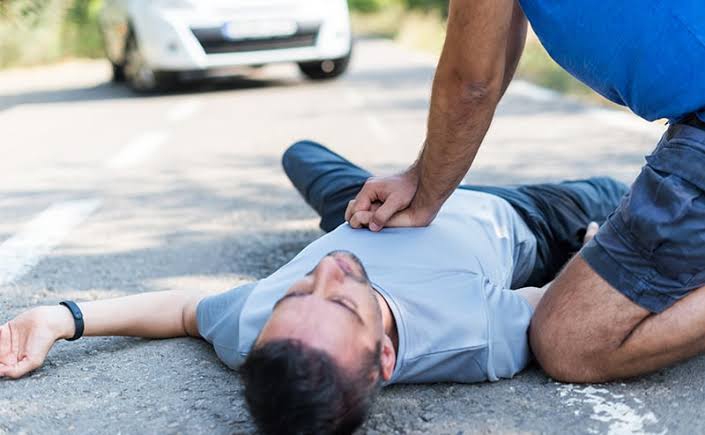
1. Cardiopulmonary Resuscitation (CPR)
Cardiopulmonary resuscitation is the most critical life saving skill. It is used when a person has stopped breathing or their heart has stopped beating.
Get TikTok SEO Cheat here
Understanding the situation
When the heart stops, oxygen no longer reaches the brain. Brain damage can begin within minutes. CPR keeps blood circulating artificially until help arrives.
Step by step method
- Check responsiveness
Tap the person and speak loudly. Ask if they are okay. - Call for help immediately
Alert emergency services or instruct someone nearby to do so. - Position the body
Lay the person flat on a firm surface. - Hand placement
Place the heel of one hand at the center of the chest. Place your second hand on top and interlock your fingers. - Body posture
Keep your arms straight. Position your shoulders directly above your hands. - Chest compressions
Push hard and fast. Aim for a depth of about 5 to 6 centimeters. Allow the chest to rise fully after each push. - Rhythm
Maintain a steady rhythm of 100 to 120 compressions per minute. - Continue without stopping
Do not pause unless the person shows signs of life or help arrives.
Important details
Do not worry about breaking ribs. Effective compressions are more important than perfect technique. Focus on consistency and pressure.
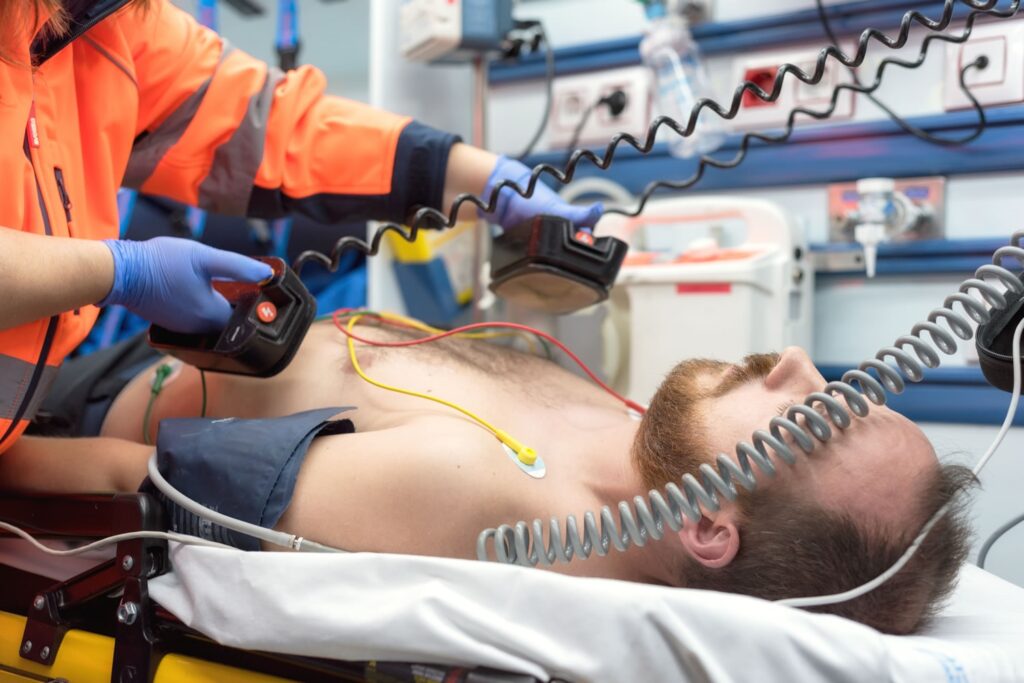
2. Using an Automated External Defibrillator
An automated external defibrillator is a device that restores a normal heart rhythm through an electric shock.
Understanding the purpose
Some cardiac arrests are caused by abnormal electrical rhythms. The device detects this and determines if a shock is needed.
Step by step method
- Turn on the device
Most units activate with a button or by opening the lid. - Follow voice instructions
The device will guide you clearly through each step. - Expose the chest
Remove clothing if necessary. Ensure the chest is dry. - Attach pads correctly
Place one pad on the upper right chest and the other on the lower left side. - Stand clear
Ensure no one is touching the person during analysis. - Deliver shock if advised
Press the shock button only when instructed. - Resume compressions immediately
After the shock, continue CPR without delay.
Important details
Do not use near water. Do not touch the person during shock delivery. Trust the device instructions.
3. Choking Response Technique
Choking blocks airflow and can quickly become fatal.

Recognizing choking
Severe signs include inability to speak, weak or silent coughing, clutching the throat, and bluish skin.
Step by step method
- Ask if the person can cough
If they can, encourage continuous coughing. - Position yourself behind them
Stand firmly with one foot slightly forward. - Locate the correct spot
Place your fist just above the navel. - Apply abdominal thrusts
Grip your fist with your other hand and pull sharply inward and upward. - Repeat until object is expelled
Continue until breathing resumes or the person becomes unconscious.
If the person collapses
Begin CPR immediately.
Important details
Avoid excessive force. For pregnant individuals or obese persons, perform chest thrusts instead.
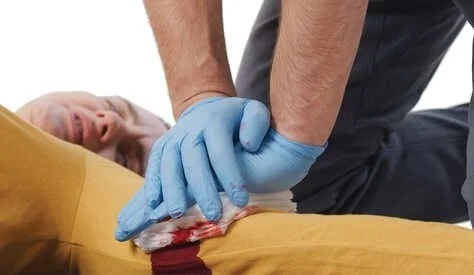
4. Controlling Severe Bleeding
Severe bleeding is one of the fastest causes of preventable death.
Understanding the priority
The goal is simple. Stop blood loss immediately.
Step by step method
- Protect yourself
Use gloves or a barrier if available. - Apply direct pressure
Press firmly on the wound with clean cloth or gauze. - Maintain continuous pressure
Do not lift to check frequently. - Add more layers if needed
If blood soaks through, place another cloth on top. - Elevate if possible
Raise the injured area above heart level if no fracture is suspected. - Use a tourniquet if necessary
Place it above the wound on a limb and tighten until bleeding stops.
Important details
Never remove a deeply embedded object. Apply pressure around it instead.
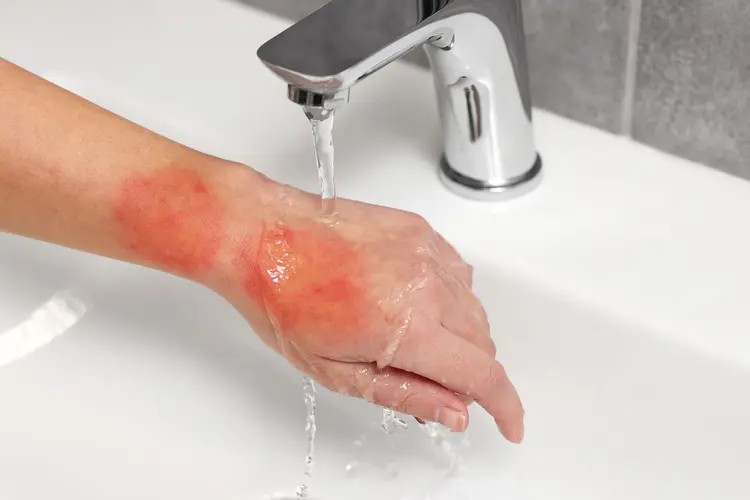
5. Treating Burns
Burns damage skin layers and can worsen quickly without proper care.
Types of burns
- Thermal burns from heat
- Chemical burns from substances
- Electrical burns from current
Step by step method
- Remove the source of heat
Move the person away safely. - Cool the burn
Run cool water over the area for at least 10 to 20 minutes. - Remove tight items
Take off jewelry or clothing near the area before swelling begins. - Cover the burn
Use sterile non stick dressing or clean plastic wrap. - Avoid harmful remedies
Do not apply oils, butter, or ice.
Important details
Large or deep burns require immediate medical attention.
6. Managing Fractures and Dislocations
Bone injuries require careful handling to avoid worsening damage.
Recognizing fractures
Severe pain, swelling, deformity, and inability to move.
Step by step method
- Keep the person still
Avoid unnecessary movement. - Support the injured area
Use hands or soft material. - Apply a splint
Use firm objects like wood or cardboard. - Secure the splint
Tie gently but firmly above and below the injury. - Apply cold compress
Use wrapped ice to reduce swelling.
Important details
Never attempt to realign bones. Leave that to professionals.
7. The Recovery Position
This position protects unconscious individuals who are still breathing.

Purpose
Prevents choking and keeps airway open.
Step by step method
- Position the arm
Place the arm nearest to you at a right angle. - Bend the far knee
Bring it upward. - Roll the body gently
Turn the person onto their side. - Tilt the head back
Ensure the airway remains open.
Important details
Check breathing regularly.
8. Recognizing a Stroke
Quick identification is critical for survival and recovery.

Use the F A S T method
Face drooping
Arm weakness
Speech difficulty
Time to act
Step by step method
- Ask the person to smile
Look for uneven movement. - Ask them to raise both arms
Check for weakness. - Listen to speech
Note slurring or confusion. - Call for help immediately
Do not delay.
Important details
Do not give food or drink.
9. Treating Shock
Shock occurs when organs do not receive enough oxygen.
Recognizing signs

Cold skin, rapid pulse, confusion, weakness.
Step by step method
- Lay the person flat
Ensure comfort. - Elevate legs slightly
Unless injury prevents it. - Keep warm
Use blankets or clothing. - Monitor breathing
Stay alert.
Important details
Do not give fluids unless instructed.
10. Managing Seizures
Seizures can appear frightening but require calm handling.

Step by step method
- Clear the area
Remove harmful objects. - Cushion the head
Use soft material. - Do not place anything in the mouth
This is dangerous. - Do not restrain movements
Allow seizure to run its course. - After seizure ends
Place in recovery position.
Important details
Seek help if seizure lasts long or repeats.
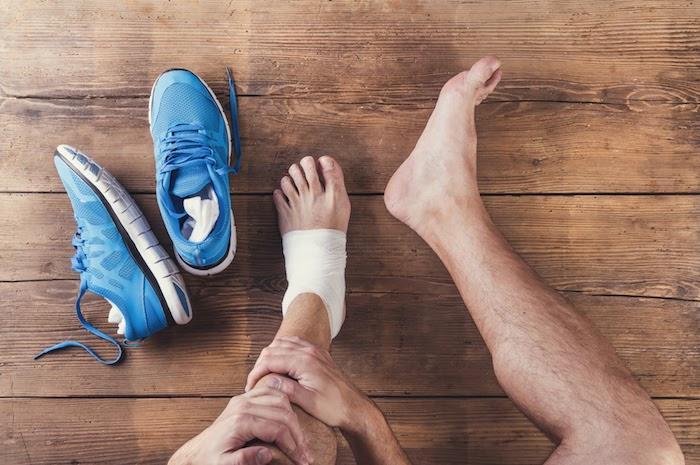
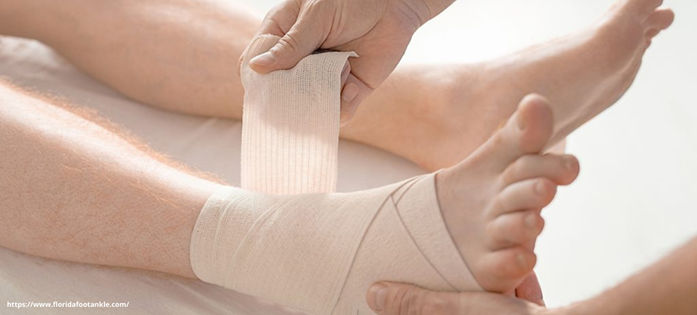
11. Treating Sprains and Strains
Soft tissue injuries require proper care to reduce swelling.
Use the R I C E method
Rest the area
Apply ice for short intervals
Compress with bandage
Elevate above heart level
Important details
Avoid excessive pressure during compression.
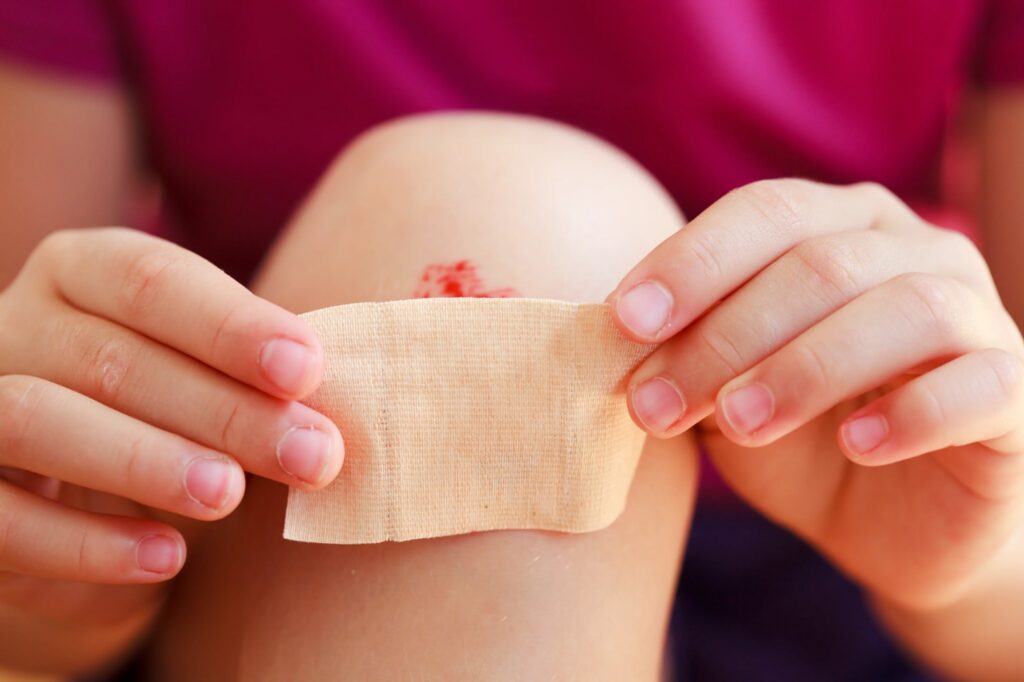
12. Treating Minor Cuts and Scrapes
Even small wounds can lead to infection if ignored.
Step by step method
- Wash your hands
Prevent contamination. - Clean the wound
Use running water to remove debris. - Stop minor bleeding
Apply light pressure. - Apply antiseptic
Reduce infection risk. - Cover the wound
Use a clean bandage.
Important details
Change dressing regularly and monitor for infection.
The First Responder Mindset
First aid is not just about knowledge. It is about composure, awareness, and decisive action. The most effective responders are those who remain calm under pressure and focus on what must be done.
Always ensure your safety first. Assess the situation before acting. Call for help early. Then apply the appropriate technique with confidence and care.
Mastering these skills transforms you from a passive observer into an active lifesaver. In those critical moments, your actions can preserve life, reduce suffering, and create the bridge between danger and recovery.
Read More On: