A screenshot also known as a screen capture is an image of what’s currently displayed on your device. As an SEO expert, you know that clear, useful visuals improve content engagement and SEO value. This guide covers every method for Windows users with actionable detail.
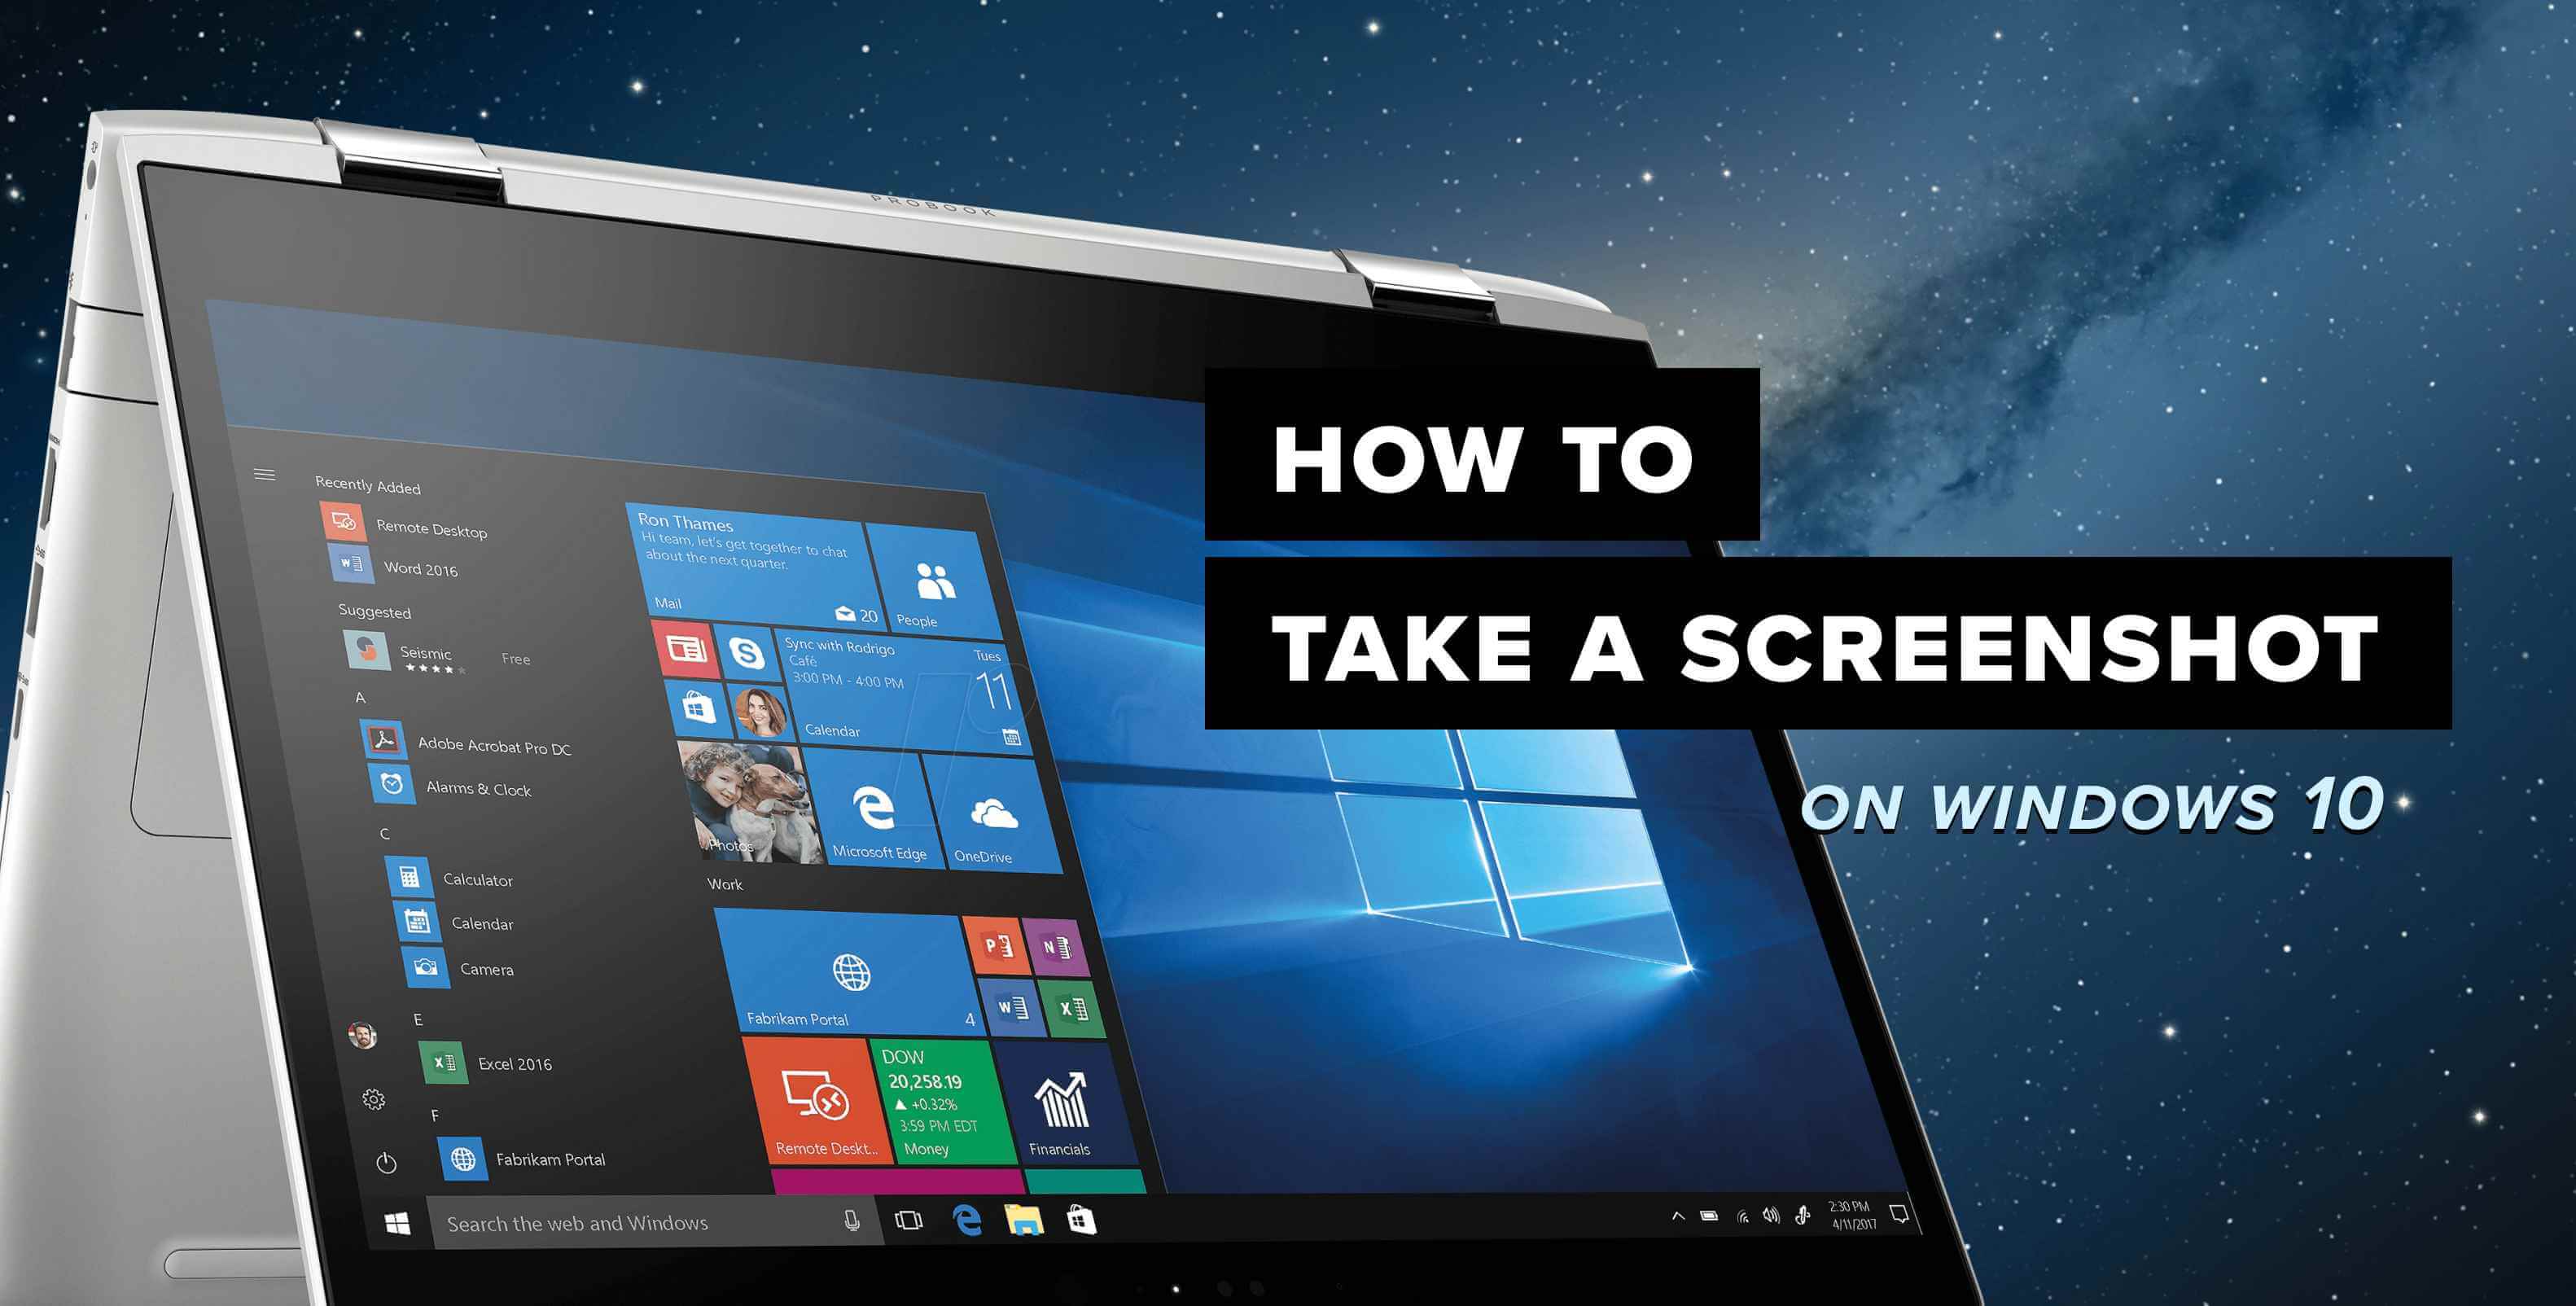
What Is a Screenshot and Why It Matters
A screenshot is simply a recorded image of your screen contents. Screenshots are useful for:
- Sharing errors or messages for support.
- Capturing information that can’t be easily copied.
- Creating tutorials, guides, or documentation.
They help readers grasp instructions quickly—especially when paired with text context.
Keyboard Shortcuts: Fastest Way on Windows
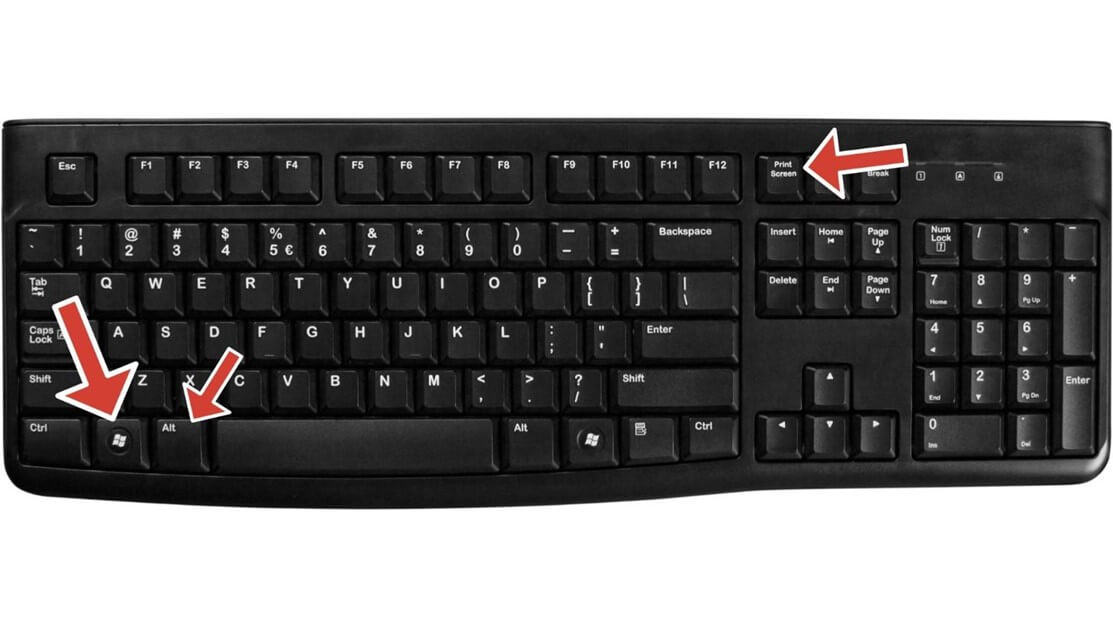
• Print Screen (PrtScn)
Simply pressing PrtScn copies the entire screen to the clipboard. From there, paste it into Paint, Word, or an image editor using Ctrl + V
Get TikTok SEO Cheat here
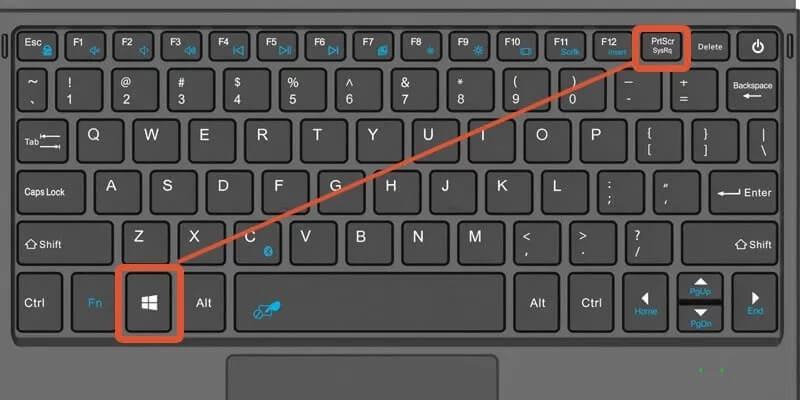
• Windows + Print Screen
Press Windows + PrtScn together to grab the full screen and automatically save it as a PNG file in Pictures → Screenshots
• Alt + Print Screen
Use Alt + PrtScn to capture the currently active window. It’s copied to the clipboard—paste into an app to view or save
• Windows + Shift + S (Region Capture)
This shortcut opens the Snip & Sketch overlay. You can select:
- Rectangular area
- Freeform region
- Current window
- Full-screen mode
After snipping, the image goes to the clipboard and shows a thumbnail for editing or saving
Using Built-in Tools: Snipping Tool & Snip & Sketch
Snipping Tool (Windows Vista through Windows 11 UI)
This legacy utility has four capture modes: Free‑form, Rectangular, Window, or Full‑screen. You open it via the Start menu, set a delay (3–10 seconds if needed), choose a mode, hit New, then save in formats like PNG, GIF, or JPEG
Snip & Sketch (Windows 10+)
An updated app that replaces Snipping Tool. Launch with:
- Windows + Shift + S, or
- Search “Snip & Sketch.”
Select the capture type, optionally annotate, and save from within the interface. Screenshots default to clipboard but can be saved manually
Capturing Full Web Pages or Scrolling Content
Standard screenshot tools only capture visible content. To capture entire web pages:
• Built‑in browser tools
In Edge or Chrome Developer Tools use the command palette (Ctrl+Shift+P) to select “Capture full size screenshot” Firefox offers a built‑in “Full Page” screenshot via the Page Actions menu
• Extensions & third‑party tools
Tools like Fireshot, GoFullPage, Awesome Screenshot, or Nimbus Capture let you scroll and stitch or download the full page as one image
Advanced Third‑Party Tools
For power users who need annotation, organization, or automation:
Greenshot
Free, open-source, it supports region, window or full‑screen capture with built‑in annotation tools like arrows, blur, highlight, and text export
ShareX
Also free, with advanced automation. Offers capture of display, region, scrolling windows, and post‑capture editing or automatic upload, watermarking, or combining multiple images
Snagit
Professional paid software by TechSmith. Combines capture, editing, and sharing workflows, ideal for documentation or video tutorial. Also supports scrolling capture
Read also:
- How to Fake Your GPS Location on Android and iPhone
- Married but Roommates: The Unspoken Struggles of Nigerian Couples
- Jarvis and Peller’s TikTok Love Story Hits a Rocky Moment
- Japa 2025: Top 14 Countries Offering Fast-Track Permanent Residency
- Top 10 Countries Hiring Foreign Workers in 2025: High-Demand Jobs and Easier Visa Routes
- How to Run TikTok Ads in Nigeria from Ads Manager: A Complete Beginner’s Guide
- How to Keep Mobile Data On While on Call (Android and Iphone)
- How to Have Effective Water Flow in Storey Buildings
- Top 5 Ways to Stop Incoming Calls Without Blocking or Airplane Mode
- How to Block or Deactivate Bank USSD Code in Nigeria (2024)
- How to check BVN with USSD code for MTN, Glo, Airtel, 9mobile
- How to Automatically Generate and Share Meeting report Using AI
Best Practices for Screenshot Quality
- Always save as PNG, not JPEG. PNG is lossless and preserves clarity
- Avoid resizing arbitrarily: use predictable scales like 50 % or 25 % if needed. Poor resizing introduces blur or pixelation
- Declutter your screen: hide toolbars, bookmarks, or notifications so screenshots look professional and focused
- Use legible fonts and high contrast: for example 16 pt Consolas or clear default colors when capturing code or terminal windows.
Conclusion
Capturing screenshots is a fundamental digital skill. From Windows keyboard shortcuts to built‑in utilities like Snipping Tool and Snip & Sketch, to advanced third‑party programs, you have options for every need. For full‑page scenarios, browser tools or extensions excel.
Keep quality high by saving PNGs, decluttering your workspace, and annotating clearly. When inserting screenshots in your blog, optimize for SEO and usability to keep your content both discoverable and reader‑friendly.
Quick Reference Table Screenshot on Windows Laptop
| Method | Windows Version | Description |
|---|---|---|
| PrtScn | All | Copies full screen to clipboard |
| Windows + PrtScn | Windows 8‑11 | Saves full screen PNG to Pictures\Screenshots |
| Alt + PrtScn | All | Copies active window to clipboard |
| Windows + Shift + S | Windows 10‑11 | Opens region capture toolbar; saves to clipboard |
| Snipping Tool/Snip & Sketch | Windows Vista‑11 | Mode-based capture, annotation, manual save |
| Browser DevTools or Extensions | Chrome/Edge/Firefox | Capture full webpages or scrolling content |
Knowing how to take clear screenshots is a skill you will use often, whether you are documenting a process, sharing feedback, or creating tutorials for your audience. With the shortcuts, built‑in tools, and third‑party applications covered in this guide, you now have multiple options to capture exactly what you need.
Take a few minutes to practice the different methods so you can pick the one that feels fastest and most reliable. Over time, you’ll find screenshots become a seamless part of your workflow and make your content far more engaging and useful.